
When my coworker invited me to her baby shower, my first thought for a gift was a baby quilt. The quilts and blankets that Fake-Aunt Sheryl made for my son over the years were useful and super cute at the time, and have become cherished mementos in the ensuing years.
(Plus, now that I know how to sew, I understand the level of effort that went into each of them, and appreciate how Sheryl’s skill improved over just a few years.)
Now, I’d never actually made a quilt before — which is ironic, given that my initial interest in learning to sew was to make t-shirt quilts for myself, rather than paying others to make them for me. In the almost six years I’ve been really sewing, I’ve used quilting techniques to make “mug rugs” (aka coasters) and pillow cases, but this would be my first actual quilt.
My initial plan was to make a test quilt out of some remnants and squares that I’d never use for anything myself, then make the real quilt from a thoughtful selection of gender-neutral fabrics. I had this great idea for a color palette based on a thrifted bedsheet in my stash: white with multicolored polka dots. I got my rainbow of fabrics together, then I looked through my stash for fabrics that I could use for a practice quilt.
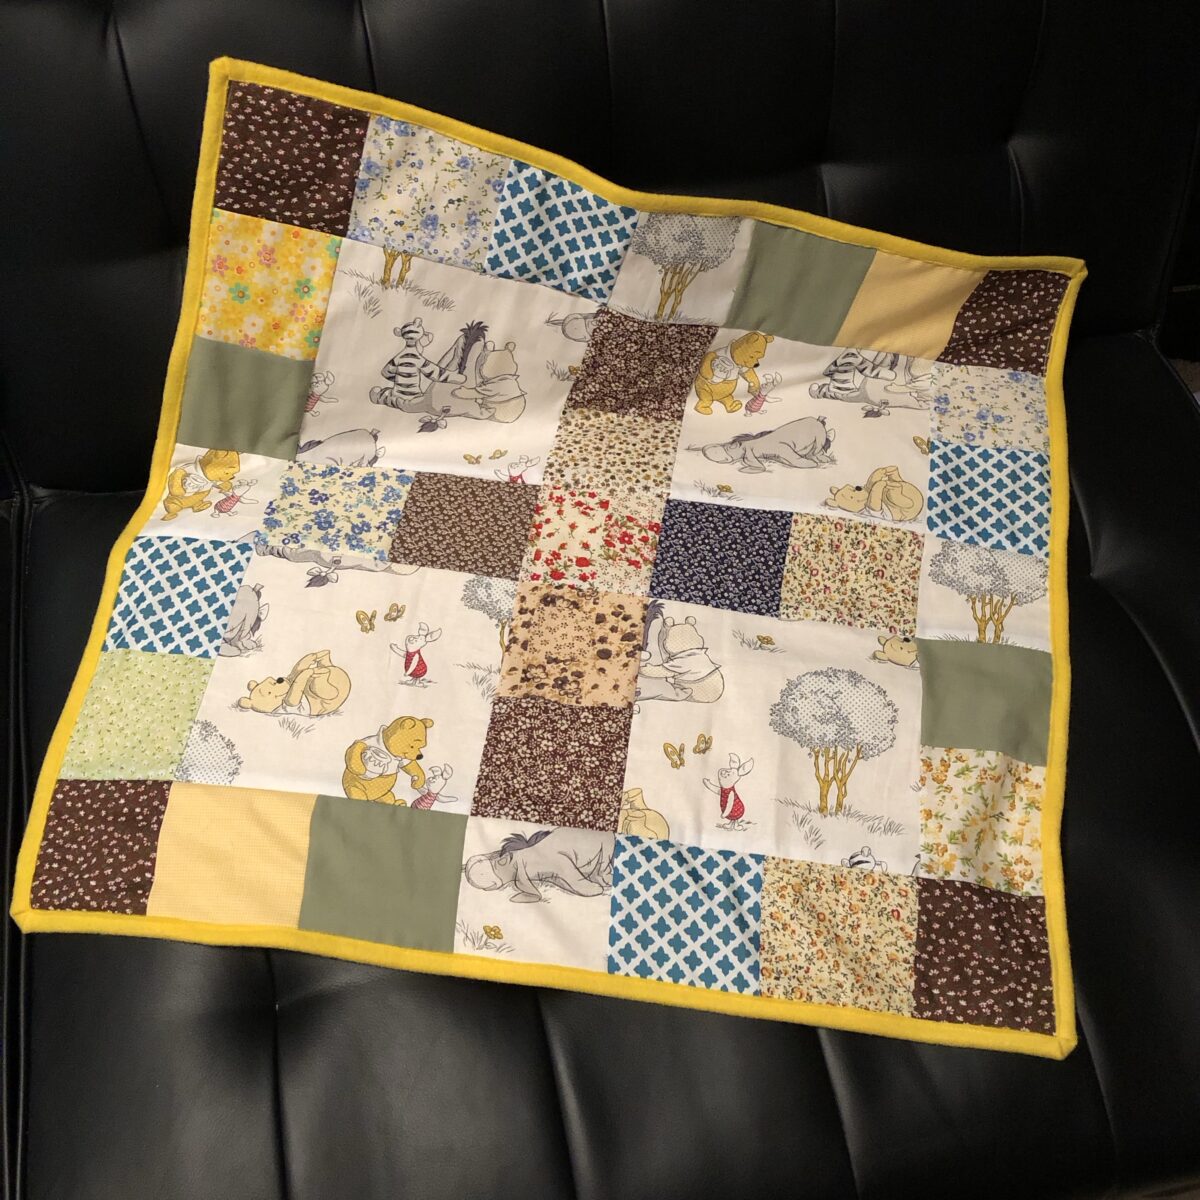
From my collection of quilting cotton, I unearthed a Winnie the Pooh remnant that came with a lot of boy-centric fabric remnants I bought off of eBay years ago. While I like Pooh Bear, I don’t have a reason to make anything with Pooh Bear fabric, so this was perfect. I could make the practice quilt, and if it was good enough, I could either gift it or thrift it.
At this point, two things happened.
Number one was the not-entirely-unexpected appearance of my classic habit of procrastination. My sewing log shows a gap of two weeks between my initial planning phase and the start of the actual sewing.
Number two was seeing this note in the baby registry: “We will be sticking with neutral colors — greys, yellows, greens, teals.”
These two factors worked together to determine that the Winnie the Pooh “practice” quilt was to be the actual gifted quilt. Even if I’d had enough time before the shower to sew two baby quilts, the rainbow color palette I’d chosen wasn’t going to be appropriate.
I’d originally been planning to put a few pops of red in the Pooh quilt, but now that I had a better idea of the nursery color scheme, I opted against any bold squares. The plan for the quilt really stemmed from the amount of available fabric I had, since 1.) procrastination; but mainly because 2.) my sewing philosophy is to reuse and repurpose textiles as much as possible in my projects.
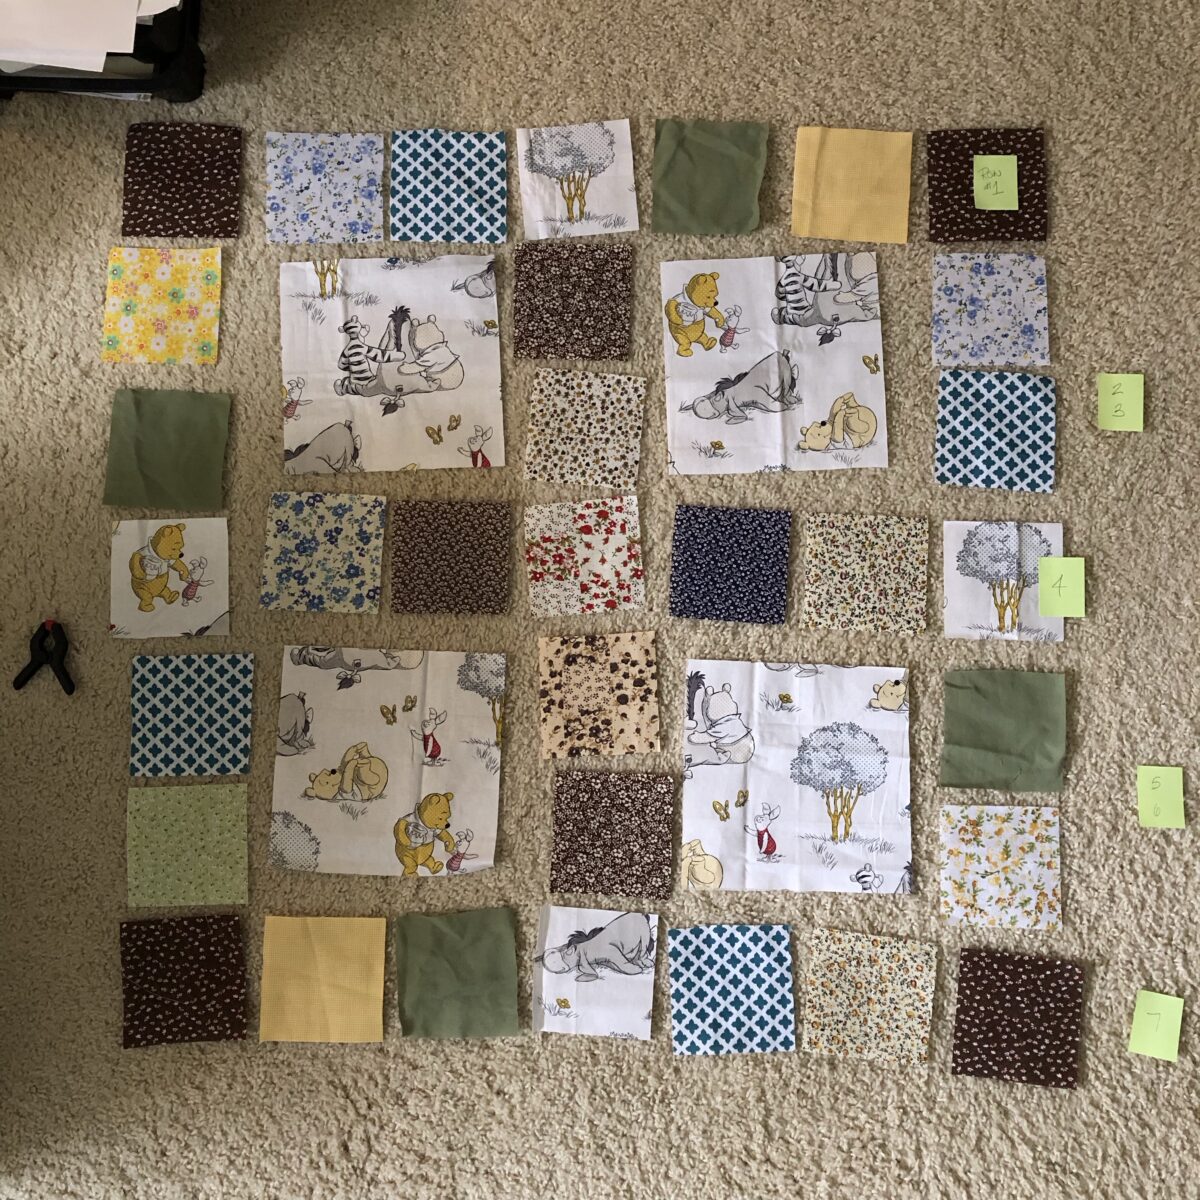
Being that this was my first quilt, and since I didn’t have enough batting on hand to make a traditional multilayered quilt, I opted for the quilt-as-you-go method. A largish piece of yellow fleece would be the backing. I sewed together each row of squares into a strip, then sewed my quilt strips directly to the fleece.
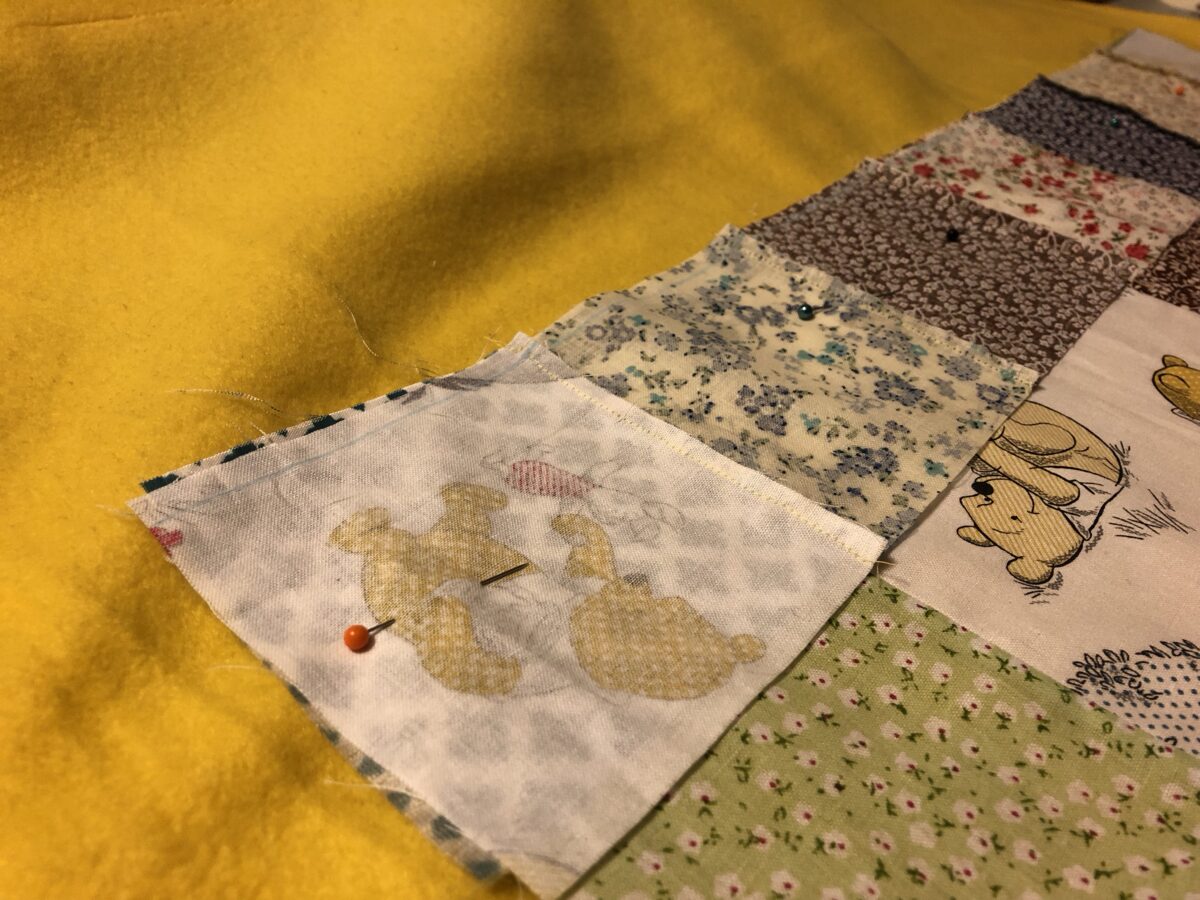
As I was taking this picture, it occurred to me that this in-progress moment I was capturing would stand as either a testament to me doing things right, or me in the midst of screwing things up.
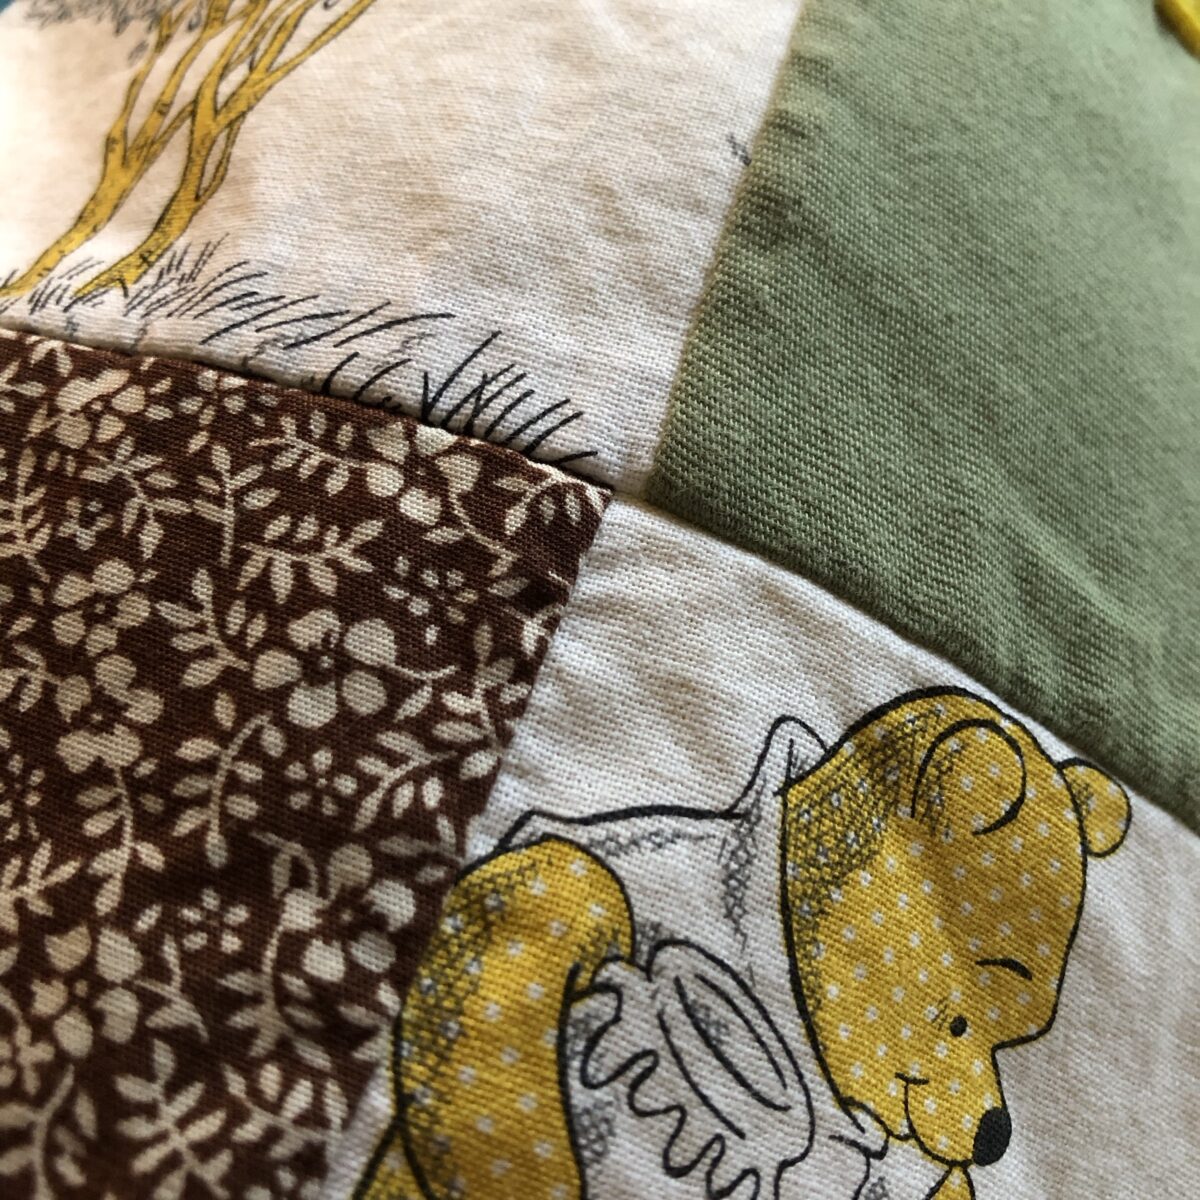
After looking at the quilt-as-you-go “pattern” on the back of the quilt, I considered adding some more quilting lines vertically. I opted against it, though, because not only would that add to the time factor, but it would also accentuate any joins between squares that were just a little bit off.

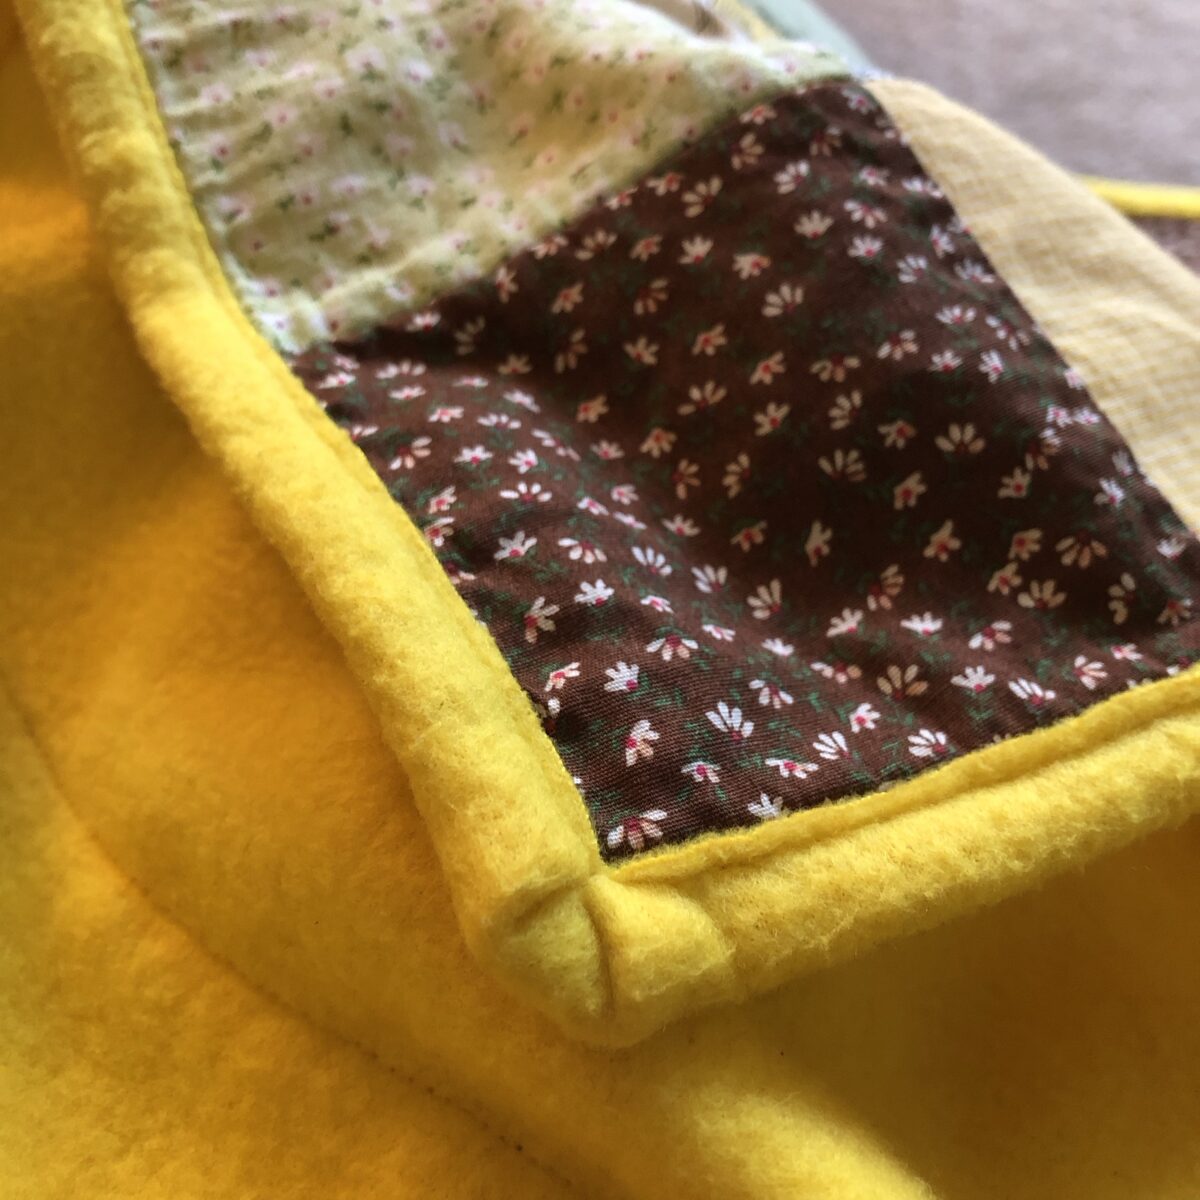
Fleece is thick and bulky to sew, so it’s a good thing that the raw edges don’t necessarily need to be finished or hemmed. I trimmed the edges and squared it up, and this is where I really could have ruined the thing. Luckily, I didn’t. I’m actually pretty proud of myself for figuring out how to mask my slight measuring and sewing errors by letting the quilt be a little off-square, but with an even binding all the way around.
Self-binding is when the edges around the quilt are (in this case) wrapped around from the backing to create that “border” around the quilt top. The traditional way to do binding is to sew long strips of fabric onto the edges of the quilt, but this non-traditional quilt-as-you-go method allows for this self-binding option. It worked out really well in the end, but I was a little dubious during the process.

It really started to look like a quilt once that first edge was bound. That moment was when I realized that this baby quilt was actually not going to suck.
I’ve watched enough quilting videos to know how the mitered corners on the binding are supposed to work. I’ve also tried it enough times on various quilt-adjacent projects to know that I need more practice to make my corners neat. Not only that, but I’ve worked with this fleece enough to know that it’s too thick to fold the same way as quilting cotton. My compromise was to adapt a bookbinding technique for leatherbound book corners, and that worked out quite nicely.
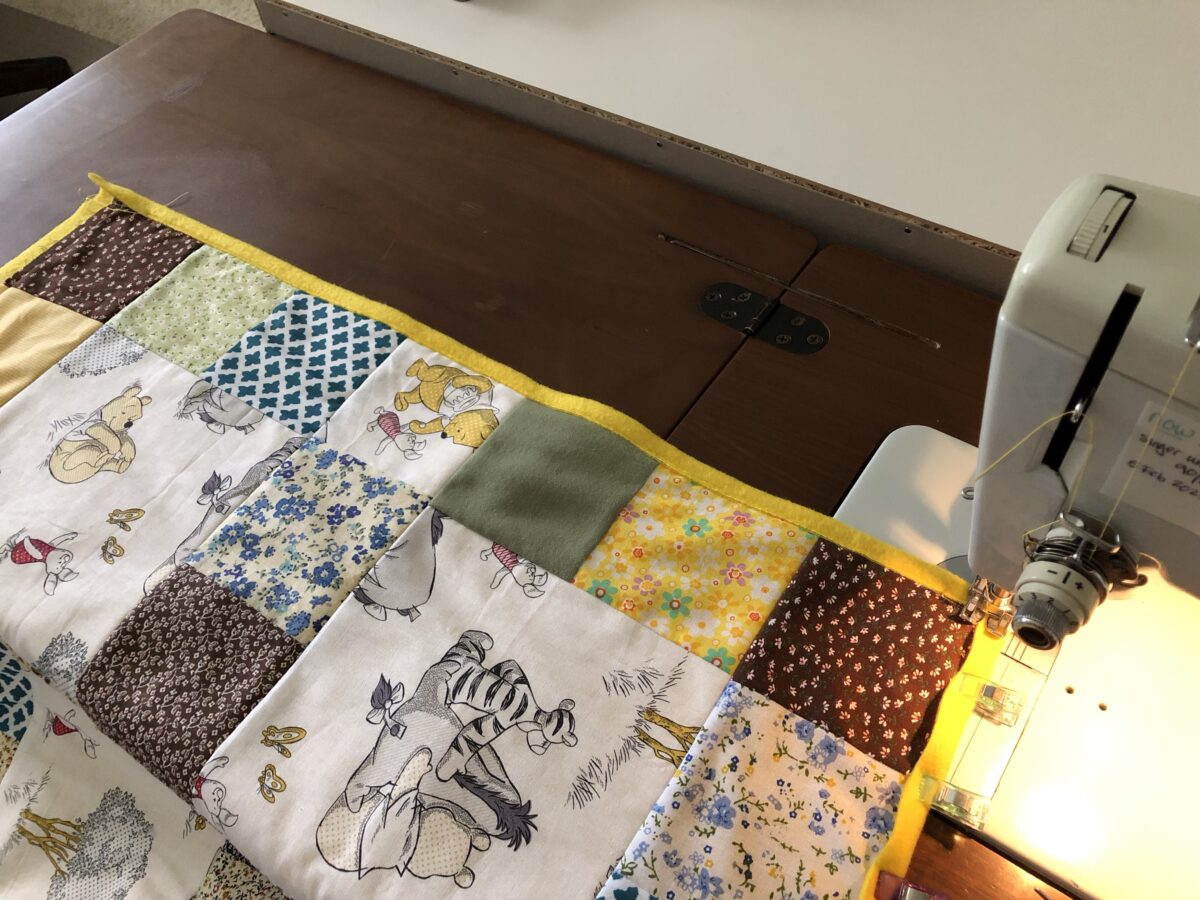
I put the finishing touches on the quilt the night before the baby shower — or was it the morning of? The quilt was one part of a combined gift from our entire team at work, and I just happened to be the one tasked with gathering the funds and procuring the gifts, so I rolled up the quilt and tucked it into the top of the gift bag and called it good.
As it happens — and I had no way of knowing this — my coworker actually loves Winnie the Pooh. She said the quilt was just perfect, and seemed genuinely smitten by it.
Hopefully, her baby girl likes it, too.
I see her dragging it behind her for years to come. Good job.