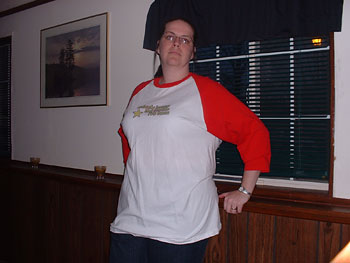
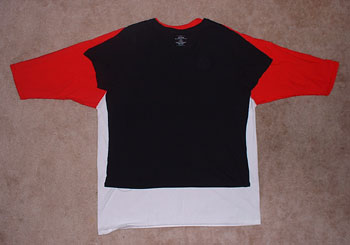
 I got it in my head tonight that I wanted to do a t-shirt surgery, and make my “Drum Corps Unplugged” shirt into a tank top. See, I always liked the design of the back better than the front, anyway, so I figured I’d shrink it to fit and make it something I might actually wear, instead of something just taking up space in the closet.
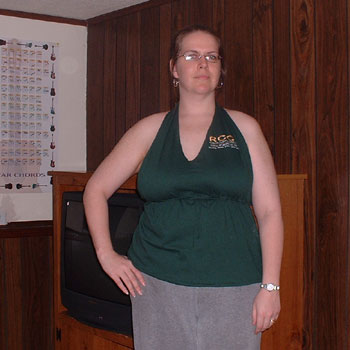
I think this one was more successful than my previous two surgeries because a.) I measured correctly, both the fabric and my body; and b.) I only had to sew in straight lines. 🙂 Still, though, it didn’t turn out exactly according to plan: I had a brain fart while I was cutting the straps, and made them narrower than I had intended, and I failed to note that my hips are bigger than my tits, making the shirt fit kind of tight and funny in places, and causing the straps to become fashion suggestions rather than anything that actually holds the shirt on.
I may wear this to tomorrow night’s drum corps show with Donna, or I may save it to wear to next Sunday’s drill camp up in St. Clair Shores MI. Or maybe it’ll be an around-the-house shirt. I’m not sure how comfortable I’d be wearing it in public, mainly because of the fit around the waist, and the straps that seem to be afraid of heights.
I’m definitely improving, though. 😀


